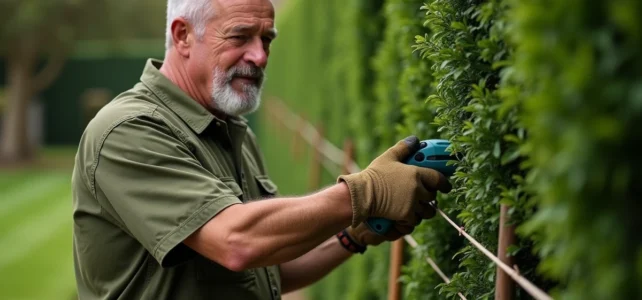
On the ground, a hedge that warps poses a concrete problem: every centimeter of difference at the top is visible from the street, and successive adjustments end up creating gaps in the foliage. To achieve a straight and uniform hedge, one cannot simply use the hedge trimmer by eye. The guiding method, the cutting profile, and the intervention schedule radically change the result.
Trapezoidal Profile: The Cut That Avoids Bald Spots
Most gardeners trim their hedge into a perfect rectangle, with strictly vertical sides. The problem appears after a few seasons: the upper part, wider or as wide as the base, casts shade on the lower branches. The foliage at the base receives too little light and gradually becomes sparse.
The solution is to trim in a slight trapezoid, narrower at the top than at the bottom. The base is kept slightly wider than the top, by a few centimeters on each side. This profile allows light to reach the entire height of the hedge, including the lowest branches.
We also learn, through practice, that knowing how to properly trim a straight hedge starts with choosing the right cutting profile before even touching the tool.
On species with evergreen foliage like laurel or thuja, this detail makes all the difference between a dense hedge throughout its height and a hedge with a dry, brown base. The trapezoidal shape does not prevent having a perfectly straight top: we simply work on the angle of the sides.

String Line and Stakes: Setting Up a Reliable Guide for Trimming
Trimming by eye works for a meter or two. Beyond that, the error accumulates and the result undulates. The most reliable technique remains the string line stretched between two stakes planted at the ends of the hedge.
Setting Up the String Line
One plants a stake or a bamboo cane at each end of the hedge. The string is fixed at the desired cutting height. The string line must not touch the foliage, otherwise it deviates and loses all usefulness as a visual reference.
For long hedges (more than five or six meters), an intermediate stake can be added to prevent the string from sagging under its own weight. The level is checked with a simple bubble level placed on the string, or the height is measured from the ground at each stake.
Work on the Top Before the Sides
Always start with the top of the hedge. The string line serves as a reference line: cut flush with the string, progressing from one end to the other with wide and regular movements. Once the top is straight, move on to the sides starting from the bottom and working up. This direction of work prevents branch clippings from accumulating on already trimmed areas and obstructing visibility.
- Stake at each end, string taut at the cutting height, without contact with the foliage
- Intermediate stake every five to six meters on long hedges to maintain tension
- Check with a bubble level or by measuring from the ground before cutting
- Trim the top first, then the sides moving up from the base
Trimming Schedule and Nesting Constraints
It is often said that regular trimming is necessary, with small touch-ups throughout the season. In practice, the period from March 16 to August 15 is not recommended for any significant trimming. This is the nesting window for birds, and both the LPO and the French Office for Biodiversity recommend not intervening during these months, even for individuals.
For a hedge that requires leveling (marked irregularities, bumps, dips), focus the corrective interventions on two windows: late winter, before mid-March, and autumn, starting in September. These periods allow for significant trimming without risking the destruction of nests or stressing the vegetation during active growth.
Feedback varies on this point depending on the regions and species: some hornbeam hedges tolerate a slight summer trim well, but it is less risky to plan two major sessions rather than frequent touch-ups during the beautiful season.
Adapting the Schedule to the Species
Fast-growing shrubs like privet or hornbeam require at least two trims per year to remain uniform. Slower species, like holly or yew, are satisfied with a single annual intervention. The more vigorous the growth, the more the string line and trapezoidal profile become essential for maintaining a clean line.
Blade Maintenance: An Often Overlooked Factor for a Clean Cut
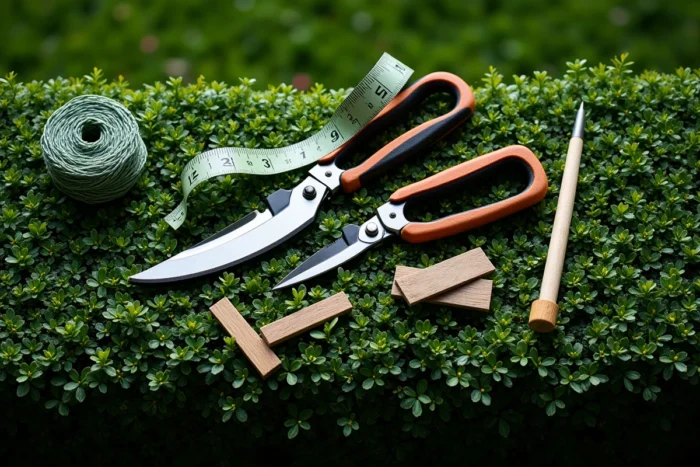
A hedge trimmer with dull blades crushes branches instead of cutting them. The visible result: brownish tips in a few days, irregular foliage, and the impression that the hedge is poorly trimmed even if the line was straight.
Well-sharpened blades produce a clean cut that heals quickly. Check the condition of the blades before each session. A simple sharpening with a flat file is sufficient for manual hedge trimmers. For electric or gas models, a visit to a sharpener or blade replacement remains the safest method.
Another practical point: clean the blades after each use with a cloth soaked in alcohol or disinfectant. This limits the transmission of diseases from one shrub to another, especially on mixed hedges composed of several species.
A straight and uniform hedge is built on three pillars: an appropriate cutting profile with a base wider than the top, a physical guide with a string line to ensure the line, and a schedule that respects nesting while allowing for significant corrections. The last gesture not to forget is tool maintenance, because no technique compensates for blades that crush instead of cut.